
How to Install Pavers in Fremont, California
Pavers are a popular choice for outdoor surfaces such as driveways, walkways, and patios because they are durable and can add a decorative touch to a landscaping project. Here are the general steps for installing pavers:
Prepare the area: The first step in installing pavers is to prepare the area where they will be installed. This includes removing any grass or other vegetation, leveling the ground, and compacting the soil.
Install a base: The next step is to install a base layer of material, such as crushed stone or gravel, to provide a stable foundation for the pavers. This base should be at least 4 inches thick and should be compacted to create a solid foundation.
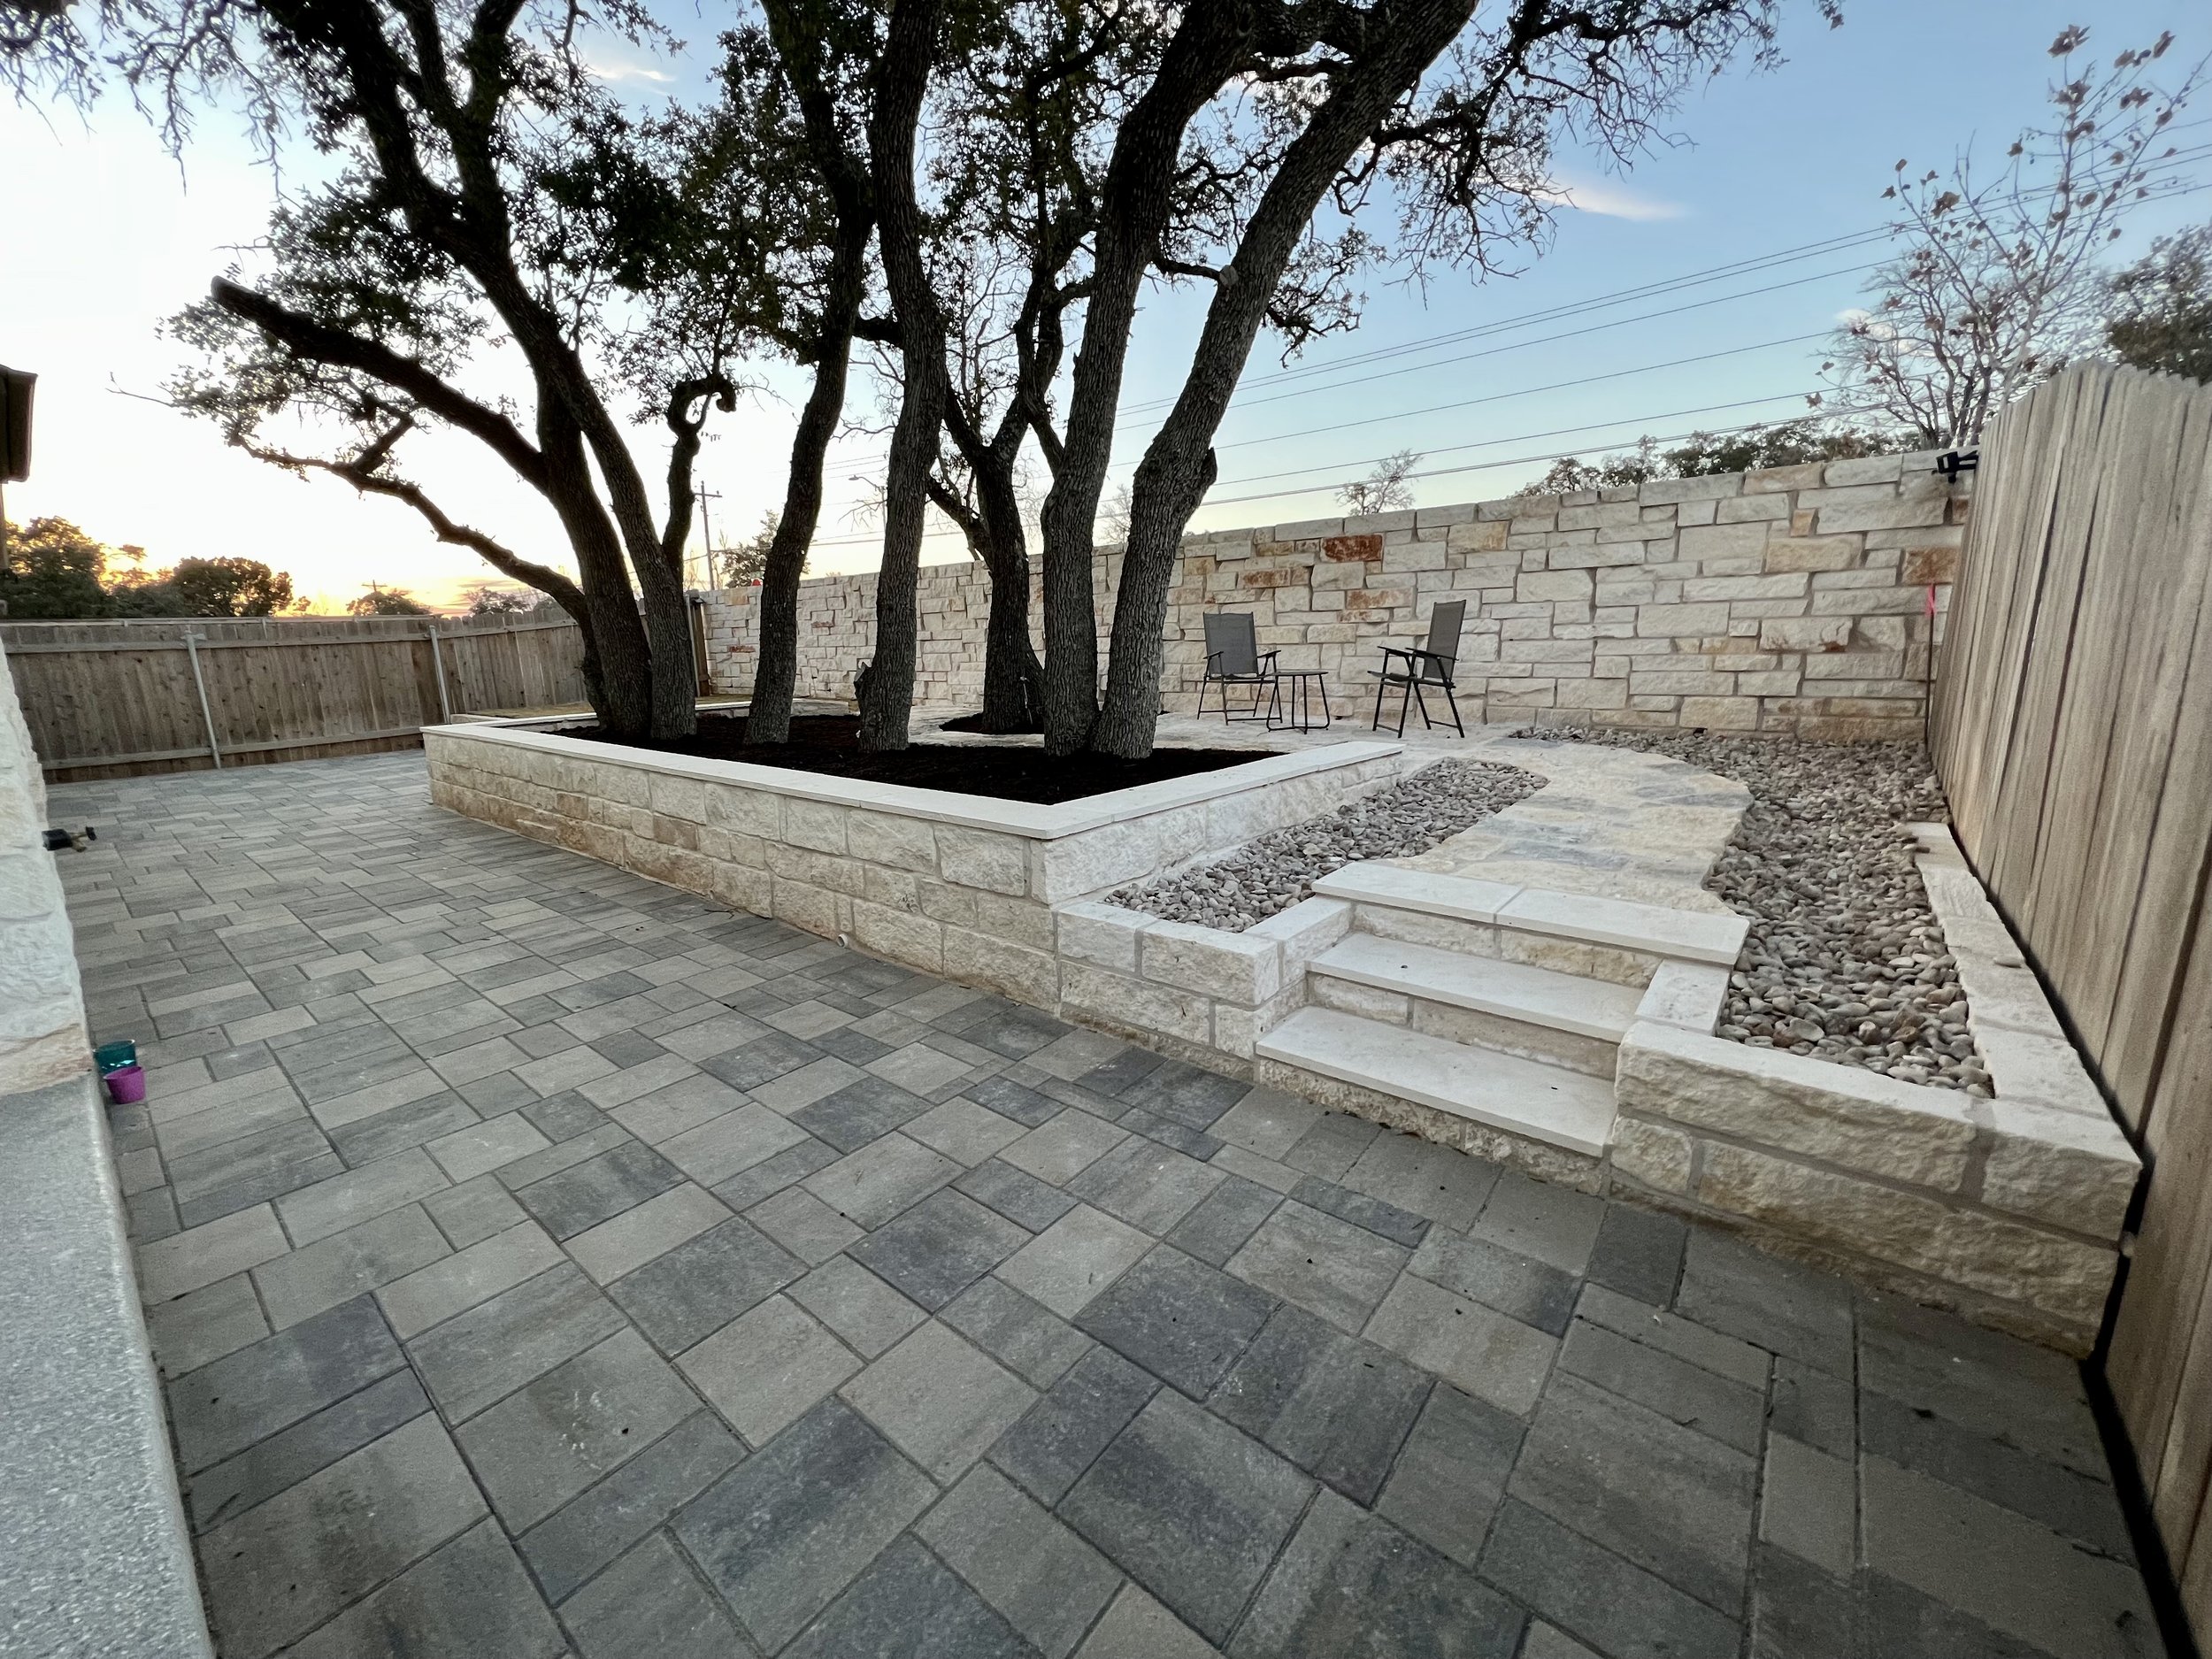
Lay the pavers: Once the base is in place, the pavers can be laid in the desired pattern. It is important to make sure that the pavers are level and that there are no gaps between them.
Install edging: To prevent the pavers from shifting over time, it is important to install edging around the perimeter of the paver surface. Edging can be made from a variety of materials, including plastic, metal, or concrete.
Compact the pavers: After the pavers are in place, it is important to compact them to ensure that they are properly seated and to reduce the risk of shifting or settling. This can be done with a plate compactor or hand tamper.
Add sand: Finally, a layer of sand can be added between the pavers to help stabilize them and fill in any gaps. The sand should be compacted to ensure that it is in place and to create a smooth surface.
Installing pavers can be a DIY project for those with some basic construction skills, but it can also be done by a professional contractor. It is important to follow the manufacturer's instructions and local building codes when installing pavers to ensure that the project is done correctly and safely.